Artwork Slideshow Tutorial
|
|
A slideshow of images is one of the easiest projects to create in video editing, so I believe that it should be a first step. In this tutorial, you will learn how to create one of these slideshows with certain effects.
Step 1: Placing the images
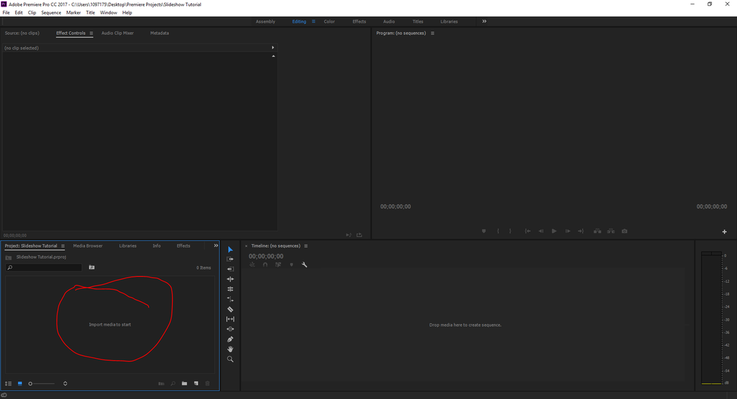
Open a new project in Adobe Premiere, then place the images into the timeline. To do this, double click where it says "Import media to start". Then, navigate to the folder where your images are, then select one of the images that you want in the slideshow. Click "Open" to place them in the media pool. Repeat this step for any other images you want.

Step 2: Creating a title
To start the slideshow, you need a title. To create one, use the keyboard shortcut (Ctrl + T), or go to the top where it says "Title", then select "New Title". A menu should pop up recognizing the frame rate and resolution of your project, asking for a name. The name does not effect what the text says, so it is only for your own reference.
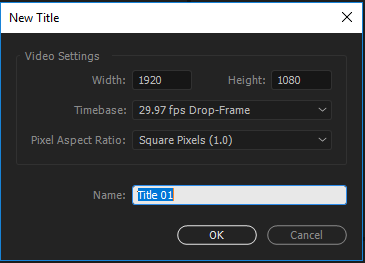
Once you click "OK", another menu should pop up that looks like this:
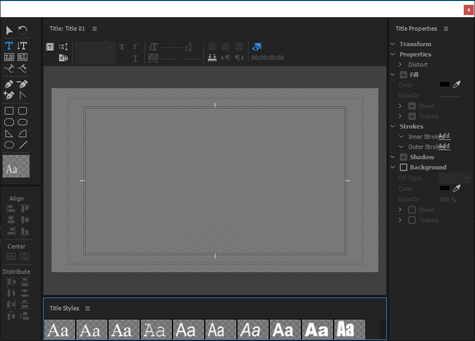
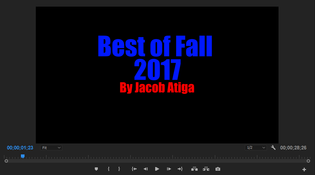
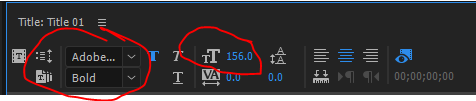
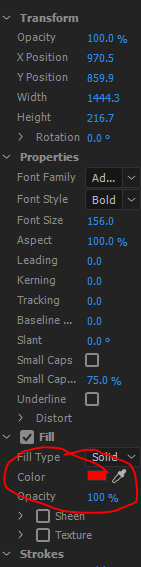
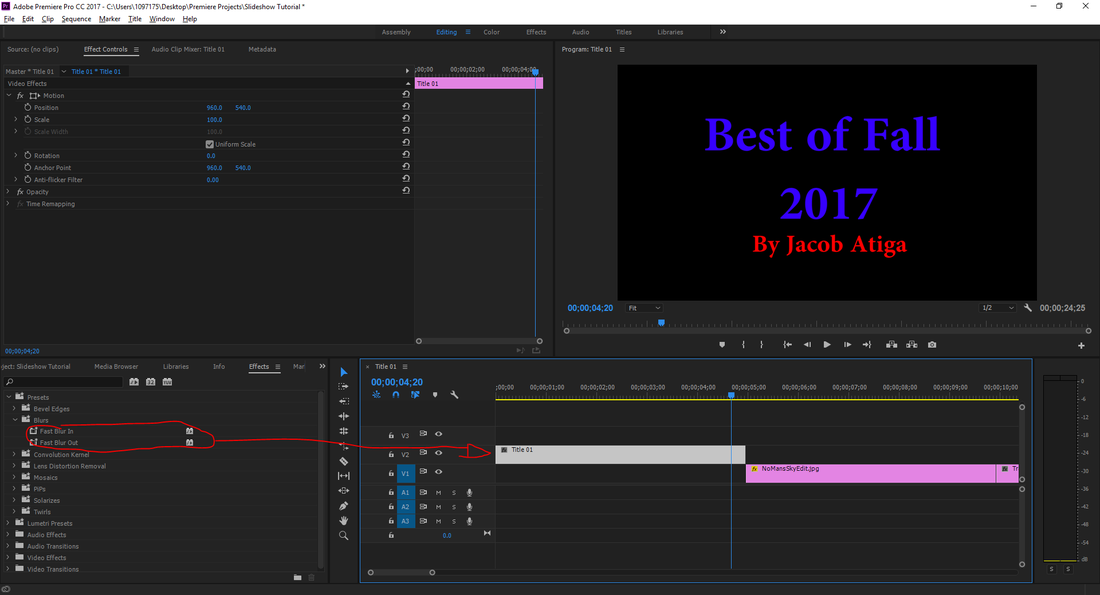
It should open with the text tool already selected, so simply drag a rectangle that will act as an invisible border for your text. After you have the text box, type what you want your title to be. In my case, that title is "Best of Fall 2017", then my name. When you are finished, you can select the text and change the font and size of it using the tools on the top, as well as the "Color" option on the right.
|
|
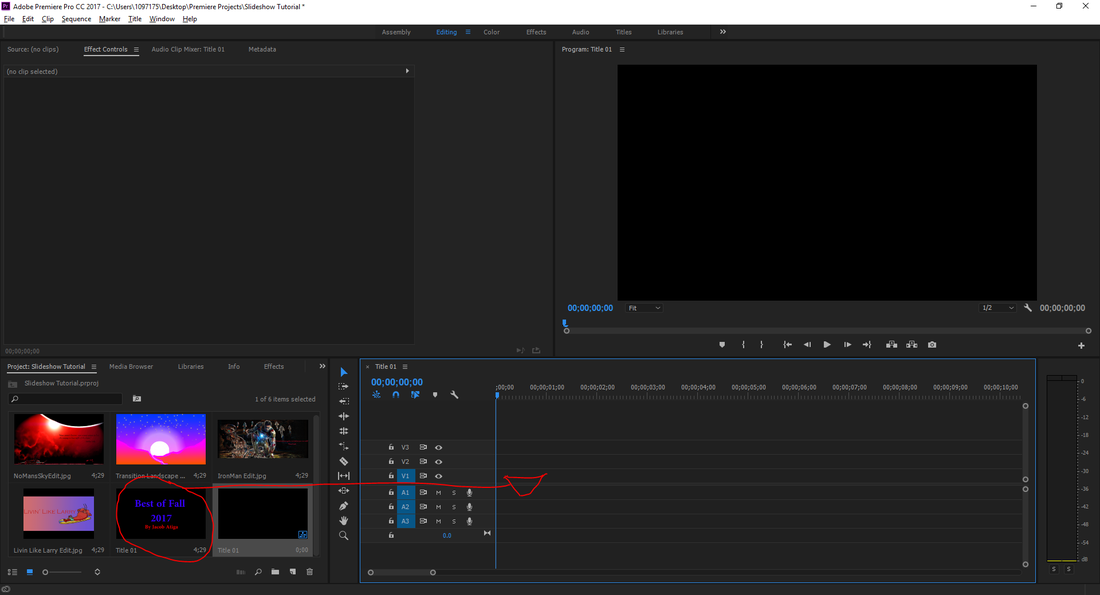
When you are satisfied with how your title looks, close the window (changes will be saved). Then just drag the title, which should appear with your images on the bottom left, to the timeline on the bottom right.
Step 3: Creating the slideshow of images
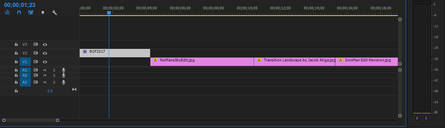
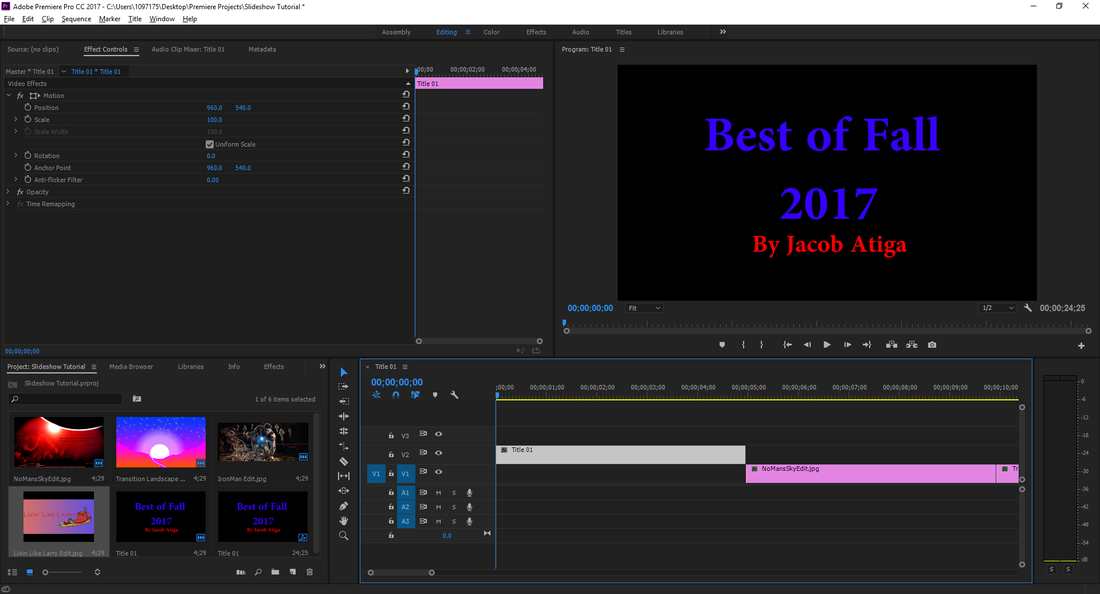
Now, drag the images to the timeline, just as you did with the title, and arrange them in whatever order you want. Your title may appear over the images at first, so simply move the images to the empty portion after the title box. After doing this, your project should look something like this:
Once you adjust the images to the length you want (which can be accomplished by dragging from the end of the clip), you have completed the task of creating a slideshow, so if that is all you wanted, continue to the end of the tutorial to learn how to export your slideshow. On the other hand, keep reading to learn how to do things like add music, create a zoom effect for each image, add transitions, etc.
Step 4: Adding music
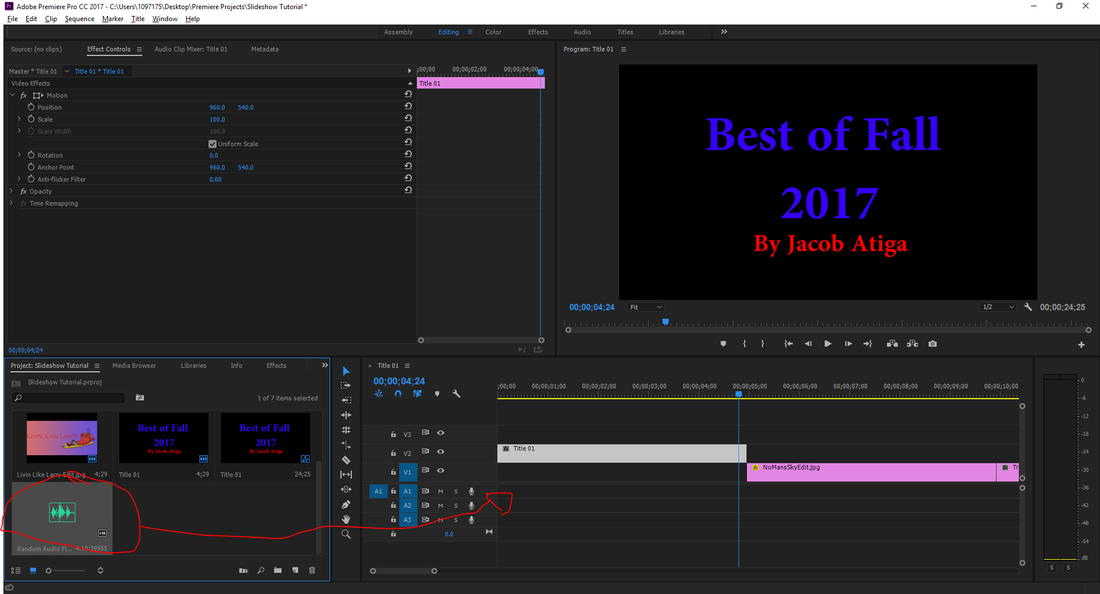
First, you'll need to get the music/audio you want to use off of the internet or whatever you prefer. If you are on a school computer, one of the only websites that is not blocked is https://allthingsaudio.wikispaces.com/Sample+Music (not a hyperlink, so copy+paste). Once you have the audio file, place it into the media pool just as you did with the images. Then drag it to the audio track in the timeline (as shown in the image below).
Step 4.5: Making it look good(OPTIONAL)
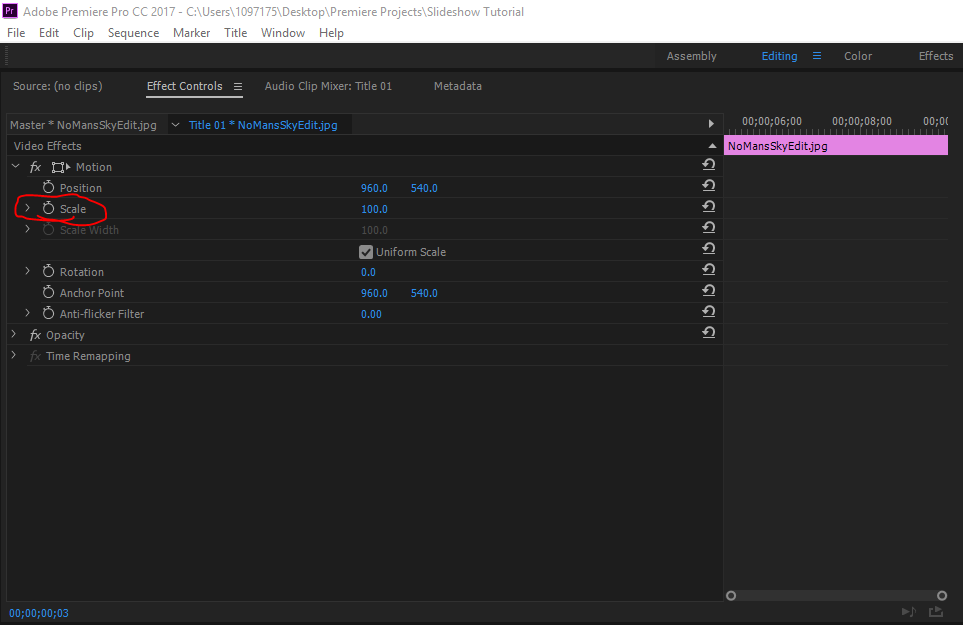
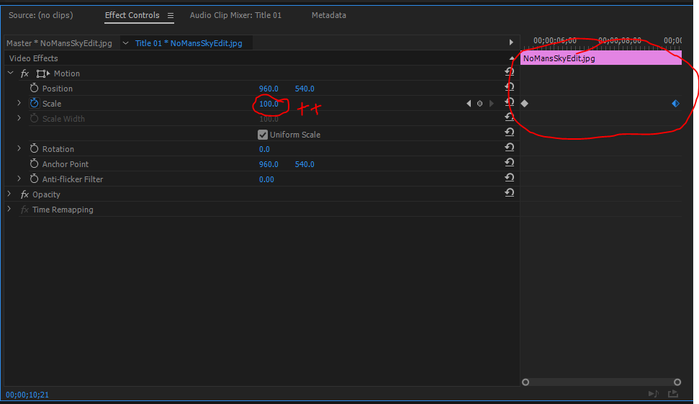
One way you can improve your slideshow is with a zoom effect on your images. To do this, select the clip you want to add the effect to, which will make a menu appear in the top left. Click the icon next to where it says, "Scale". This will allow you to apply changes that will change the clip as it plays. In this case, you are changing scale to create a zoom effect. Next, click the icon that I've circled in red on the image below(right).
|
|
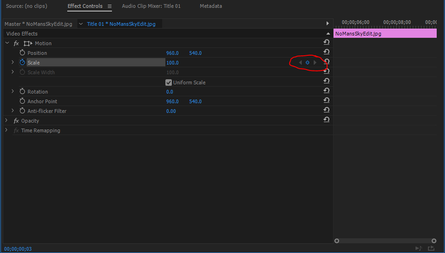
Doing this will add a couple of dots to the right side of the menu. Drag one of the dots to the end of the clip, then change the scale percentage.
After doing this, you should have successfully added a zoom effect to your clip. You can repeat this for as many clips that you want.
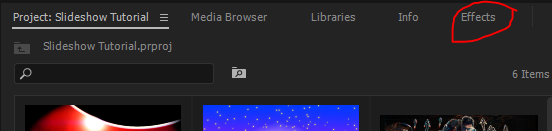
The next way you can improve your slideshow is with certain effects such as blur at the beginning and end of the clip. To do this, navigate to the effects tab of the menu on the bottom left.
Once you click on this tab, man folders will show up with a large amount of effects you can add. In this example, we will be using the blur effect, so click on the folder that says "Presets", then the folder that says "Blurs". This will bring you to the location of the blur effect.
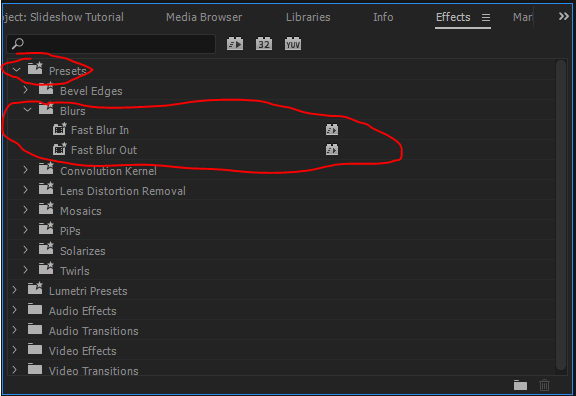
Simply drag the "Fast Blur In" onto the beginning of the clip you want, then do the same for "Fast Blur Out" at the end. After doing this, you have added the blur effect to your clip.
Step 5: Exporting
To export your slideshow, click on "File" in the top left, then go to "Export", then "Media". Make sure you click on the timeline and have it selected when you do this (you'll know when it's selected because there will be a blue outline around it.
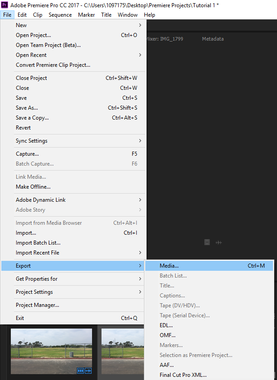
After doing this, a menu that looks like this should pop up:
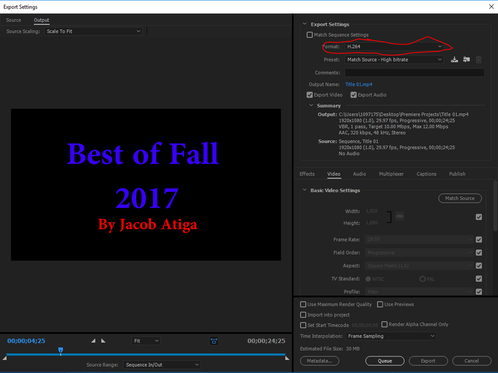
Go to the top right of the menu where it says "Format", then select "H.264". The program should recognize your frame rate and resolution, but if you would like to change these settings, then feel free to. Then, click "Export". This will place the finished video in the folder you have selected to put it in.
