Clean Transitions Tutorial
|
Although modern video editing software has built-in transitions, transitions that the creator constructs themselves are the more creative option that will gain the creator respect and is more enjoyable for the viewer.
In this tutorial you will learn multiple types of transitions using Premiere that you can use in your own videos. The first type of transition you will learn is:
Blur Transition
The blur transition is one of the easiest transitions because all you have to do in the recording stage is shake your camera.
Step 1: The recording stage
|
|
|
Record your first clip however you'd like but make sure you move the camera in some way (up to down, left to right, etc.). I recommend using scenes with similar lighting or composition(optional). Take note of the movement you did at the end of the first clip and repeat it at the beginning of the next clip. Record as many clips as you want, repeating this part of the tutorial.
Step 2: The editing stage
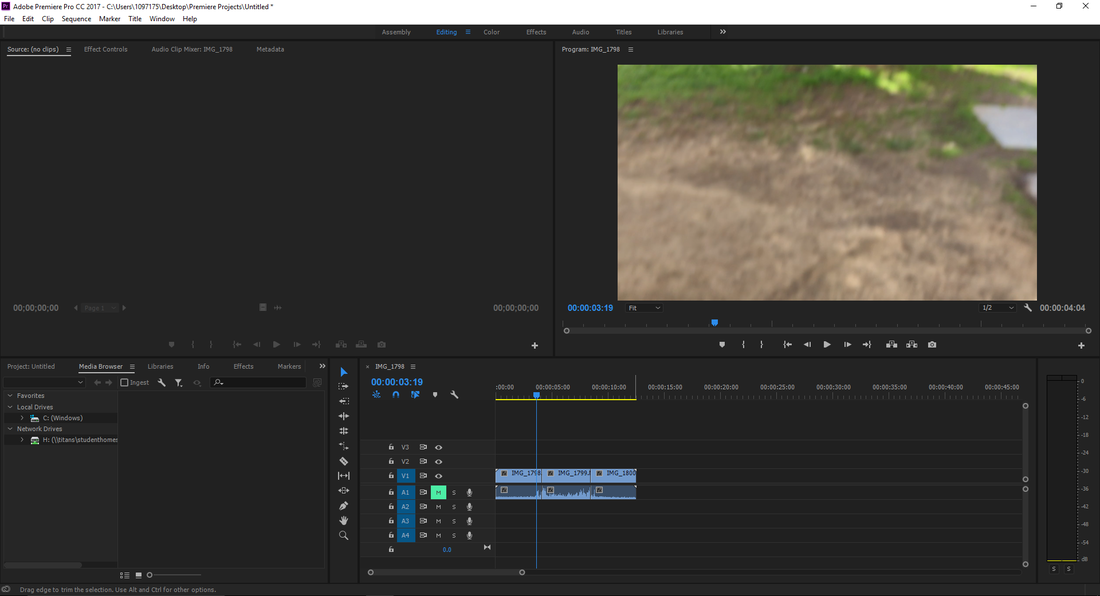
Start by dragging all of the videos to the timeline shown in the bottom of the image below.

Click and drag from the end of the first clip, which will shorten the time of it. Drag until the final frame is similar to the starting frame of the next clip. A window should pop up in the top right to aid you with this.
Step 3: Exporting
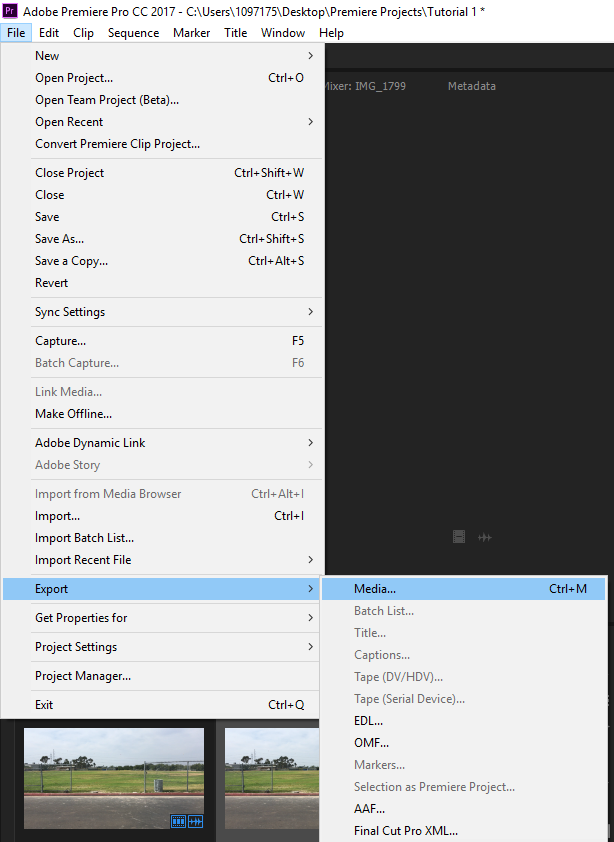
Do this to all of the clips you have recorded, checking how it looks as you go until you are satisfied. Then, click on "File" in the top left of your screen, select export, then media
|
|
NOT COMPLETE YET
